
Raspberry pi headless installation
Published:
This article is to document my step-by-step experience in headless installation of raspberry pi. Similar tutorial is available in many other places. I am using a Raspberry Pi 3 Model B with 1 GB RAM, and installing it on Xubuntu 20.04 LTS.
Installing Raspberry Pi OS on microSD card
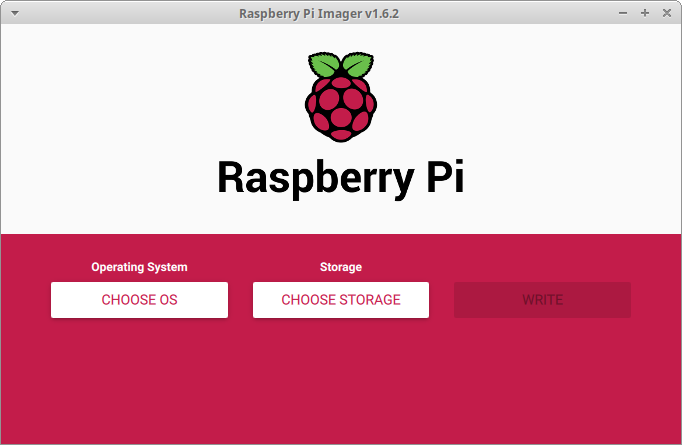
- Download, install and run the Raspberry Pi Imager. Installation of the downloaded package can be done as follows:
sudo dpkg -i imager_1.6.2_amd64.deb
Insert a microSD card (I used a 32GB one) to the PC.
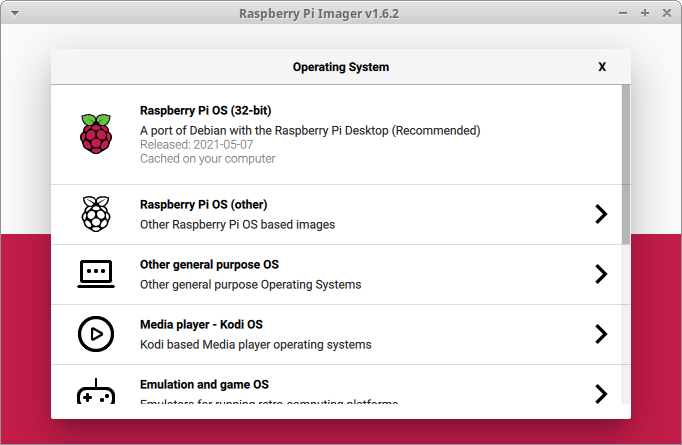
Choose the operating system (CHOOSE OS button) and select Raspberry Pi OS (32-bit) from the menu.
Choose the microSD card (CHOOSE STORAGE button) and select the intended SD card.
Click WRITE and the installation procedure will start. This process takes several minutes since Raspberry Pi Imager downloads Raspberry Pi OS and burns it to our microSD card.
At this point, the basic installation of the OS is finished. We can plug in the SD card to the Raspberry Pi, connect it to a monitor, keyboard, mouse and power source to boot it up. However, that requires many pheripherals, so I go headless instead.
Create an empty file named ssh (without file extension) in the root directory (boot device) of the card. Raspberry Pi OS will automatically enable SSH (secure socket shell) when it sees this file on its first boot-up. This allows us to access the Pi command line remotely from our PC.
Configure a network connection for the Raspberry Pi. I used an ethernet cable to connect the Raspberry Pi to my router.
Accessing Raspberry Pi through SSH
- Install PuTTY from the terminal as follows:
sudo apt-get update
sudo apt-get install putty
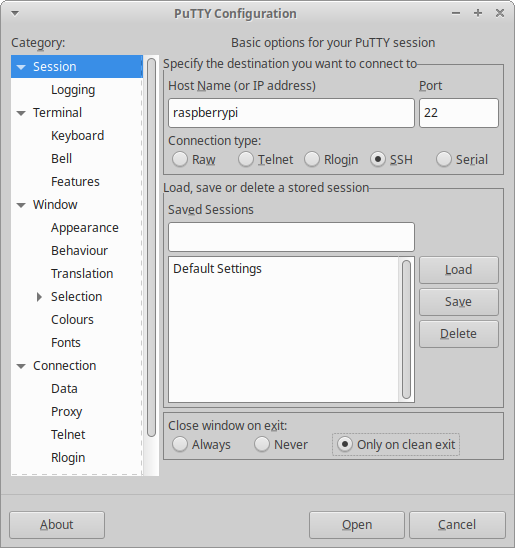
- Run PuTTY and enter raspberrypi or raspberrypi.local as the host name address.
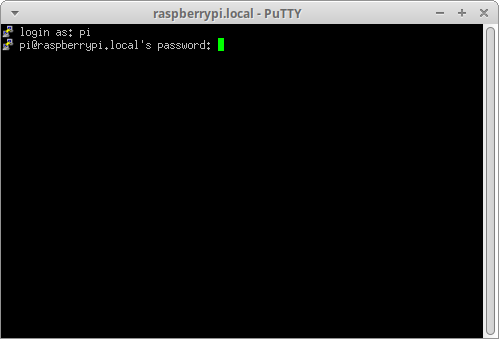
Accept if there is any security warning. It is a local connection, and thus there should not be any problem.
It will ask for the username and password. The default initial ones are pi as username and raspberry as password.
Now we are connected through the terminal. To access the GUI, we need to enable VNC as follows.
Accessing Raspberry Pi through VNC
- Launch the configuration setting of the Raspberry Pi using the following command through the PuTTY terminal:
sudo raspi-config
- Select the Interface Options.

- Select VNC and Yes to enable it. Then finish the configuration.

- On the PC, download and install VNC viewer:
sudo dpkg -i VNC-Viewer-6.21.406-Linux-x64.deb
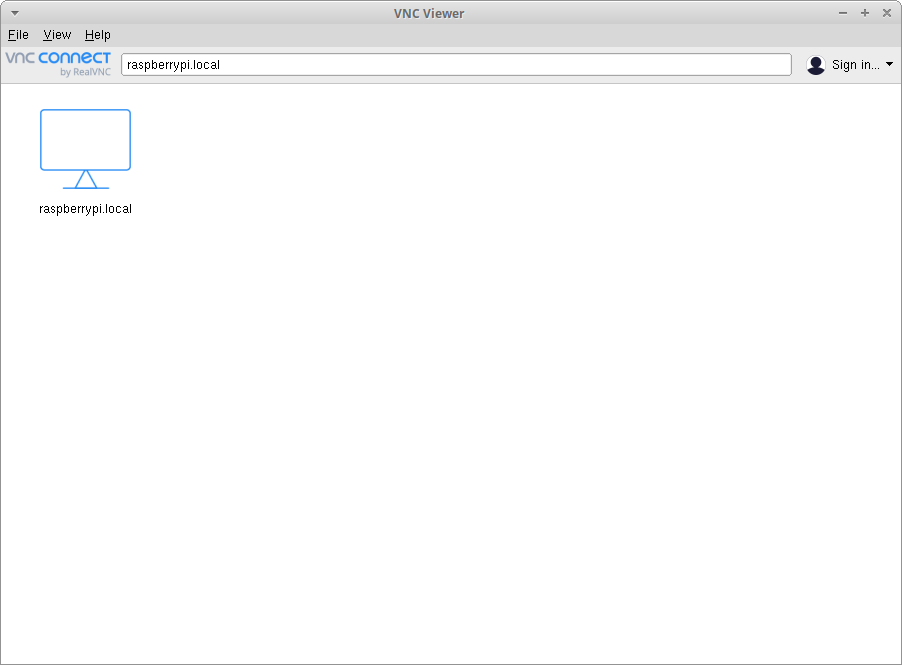
- On the dasboard, launch the raspberrypi or raspberrypi.local.
Accept if there is any security warning. It is a local connection, and thus there should not be any problem.
It will ask for the username and password. The default initial ones are pi as username and raspberry as password.
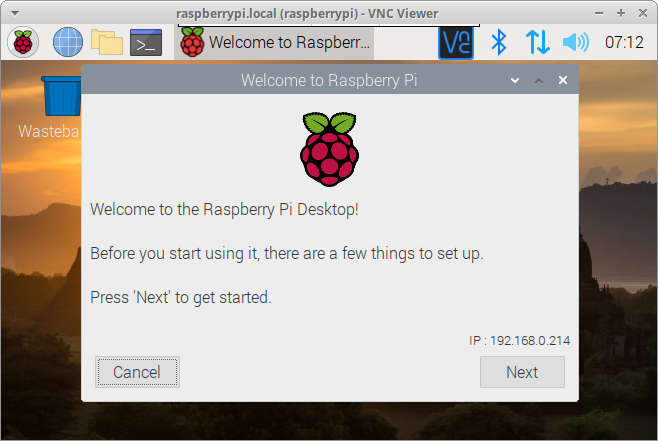
Now our Raspberry Pi desktop will appear in a window on our PC. We will be able to control everything from here.